
10 Nov The Modern Asian Kitchen with Patrick O’Cain
I met with chef Patrick...

I met with chef Patrick...
Have you always been drawn...

 Rag rug weaving embraces the folk art tradition of using everyday, readily available materials to build aesthetically beautiful, yet functional art: textiles made from the things we have, can forage, or acquire. With the craze du jour surrounding KonMari, now is a good time to think about new options for all those clothes you may be putting into the “Thank you, goodbye” pile. Rag rug weaving might be your perfect option!
[caption id="attachment_19054" align="alignright" width="251"]
Rag rug weaving embraces the folk art tradition of using everyday, readily available materials to build aesthetically beautiful, yet functional art: textiles made from the things we have, can forage, or acquire. With the craze du jour surrounding KonMari, now is a good time to think about new options for all those clothes you may be putting into the “Thank you, goodbye” pile. Rag rug weaving might be your perfect option!
[caption id="attachment_19054" align="alignright" width="251"]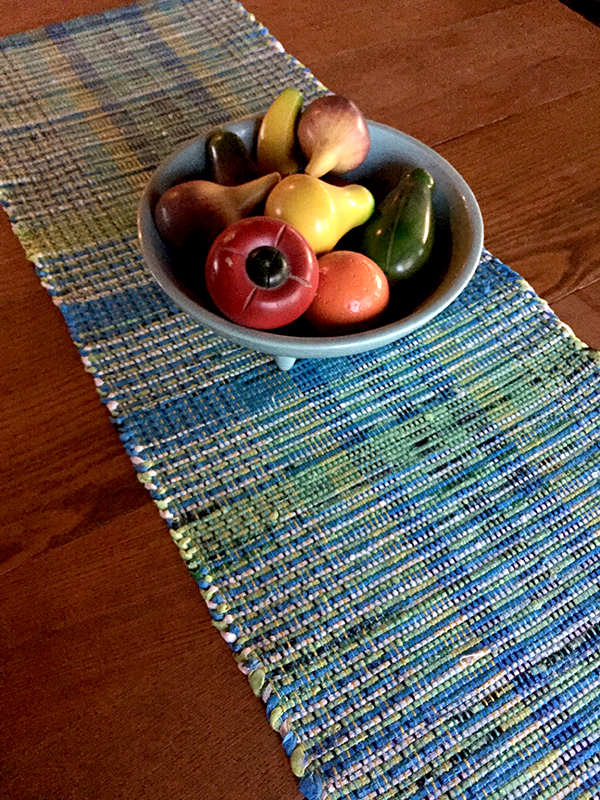 A table runner made by JoEl with woven plastic bags! See a photo below of the process.[/caption]
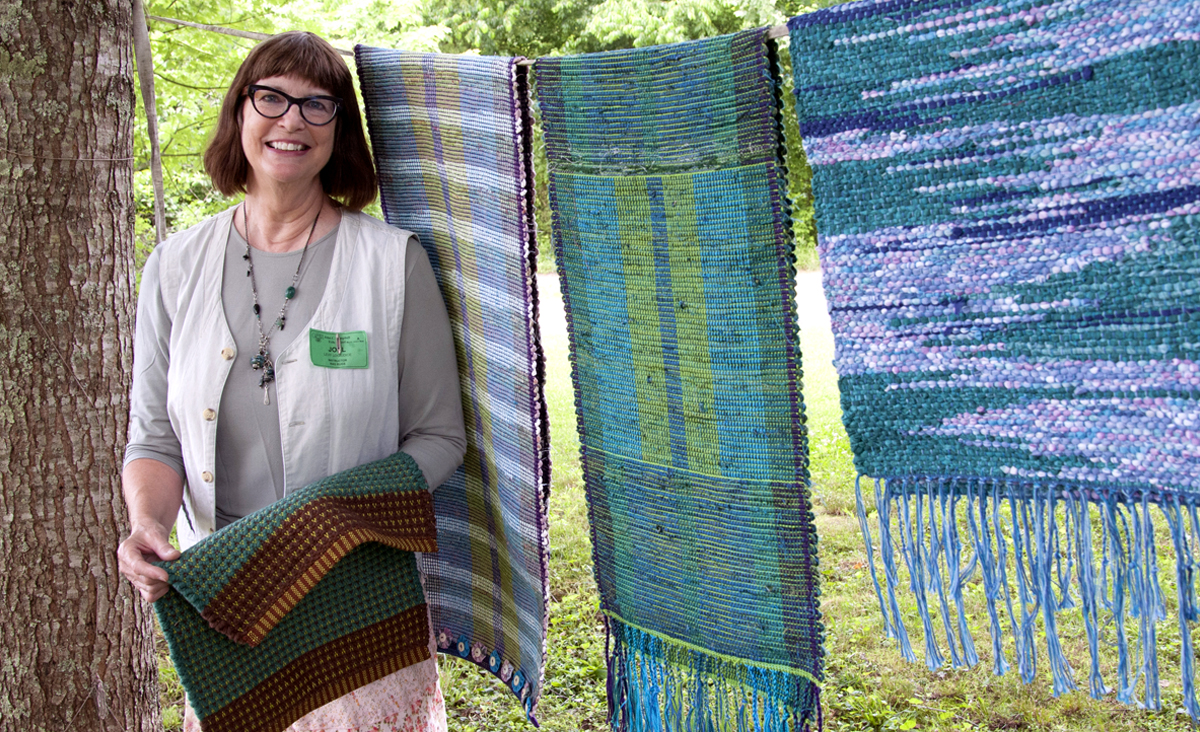
Rag weaving a craft that always offers a student the opportunity to get in the spirit of upcycling. I recently talked with longtime Folk School instructor, JoEl Levy LoGiudice about this sustainable, functional, colorful, and beautiful type of weaving. JoEl has taught rag rug weaving, among other subjects, at the Folk School since 1987. She has two classes coming up: Fabulous Fabric Necklaces on March 27–29, 2020 and Weaving with Repurposed Materials on April 19–24. Enjoy our interview!
CP: You’ve been teaching at the Folk School for over 30 years! That’s so awesome. Do you remember the first time you came to the Folk School?
JLL: I learned about the school from a former student of mine when I taught at the Appalachian Center for Crafts. Douglas Atchley had recently moved to Brasstown to manage the craft gallery (at that time it was located in the History Center) and he thought I would enjoy teaching here. He put me in contact with Ruth, who was directing programs at that time, and the first class I taught was Appalachian Rib Baskets.
A table runner made by JoEl with woven plastic bags! See a photo below of the process.[/caption]
Rag weaving a craft that always offers a student the opportunity to get in the spirit of upcycling. I recently talked with longtime Folk School instructor, JoEl Levy LoGiudice about this sustainable, functional, colorful, and beautiful type of weaving. JoEl has taught rag rug weaving, among other subjects, at the Folk School since 1987. She has two classes coming up: Fabulous Fabric Necklaces on March 27–29, 2020 and Weaving with Repurposed Materials on April 19–24. Enjoy our interview!
CP: You’ve been teaching at the Folk School for over 30 years! That’s so awesome. Do you remember the first time you came to the Folk School?
JLL: I learned about the school from a former student of mine when I taught at the Appalachian Center for Crafts. Douglas Atchley had recently moved to Brasstown to manage the craft gallery (at that time it was located in the History Center) and he thought I would enjoy teaching here. He put me in contact with Ruth, who was directing programs at that time, and the first class I taught was Appalachian Rib Baskets.
If you are interested in...
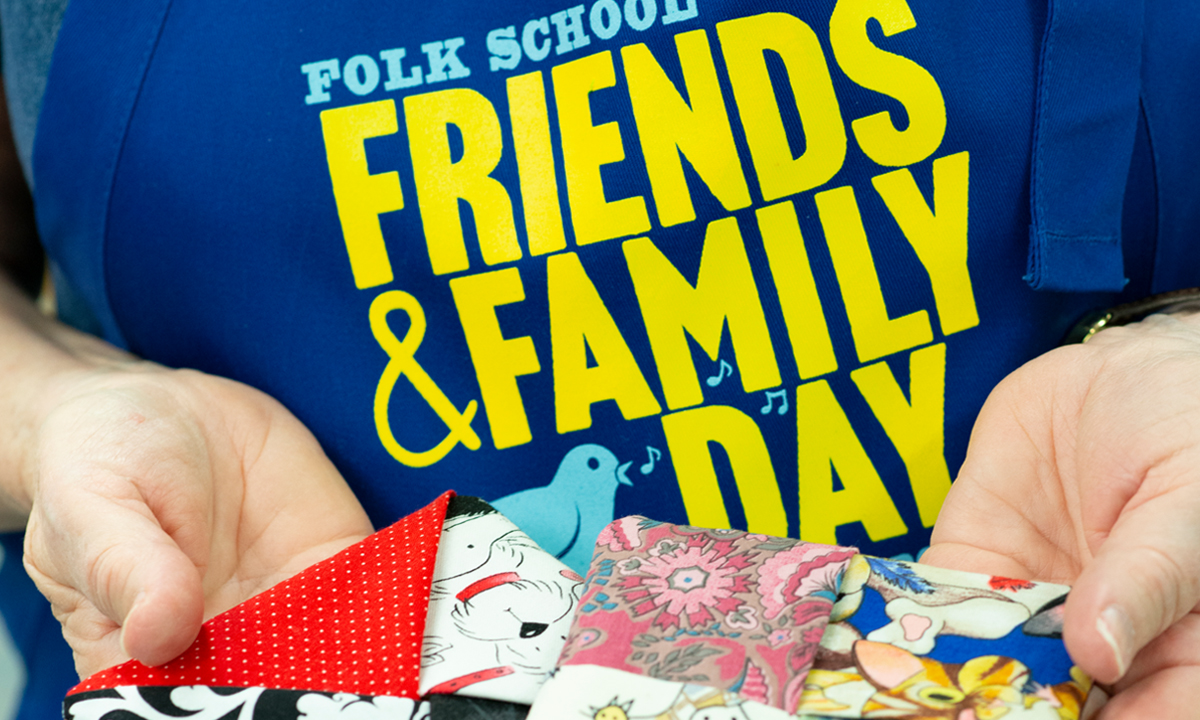
We had a wonderful time...
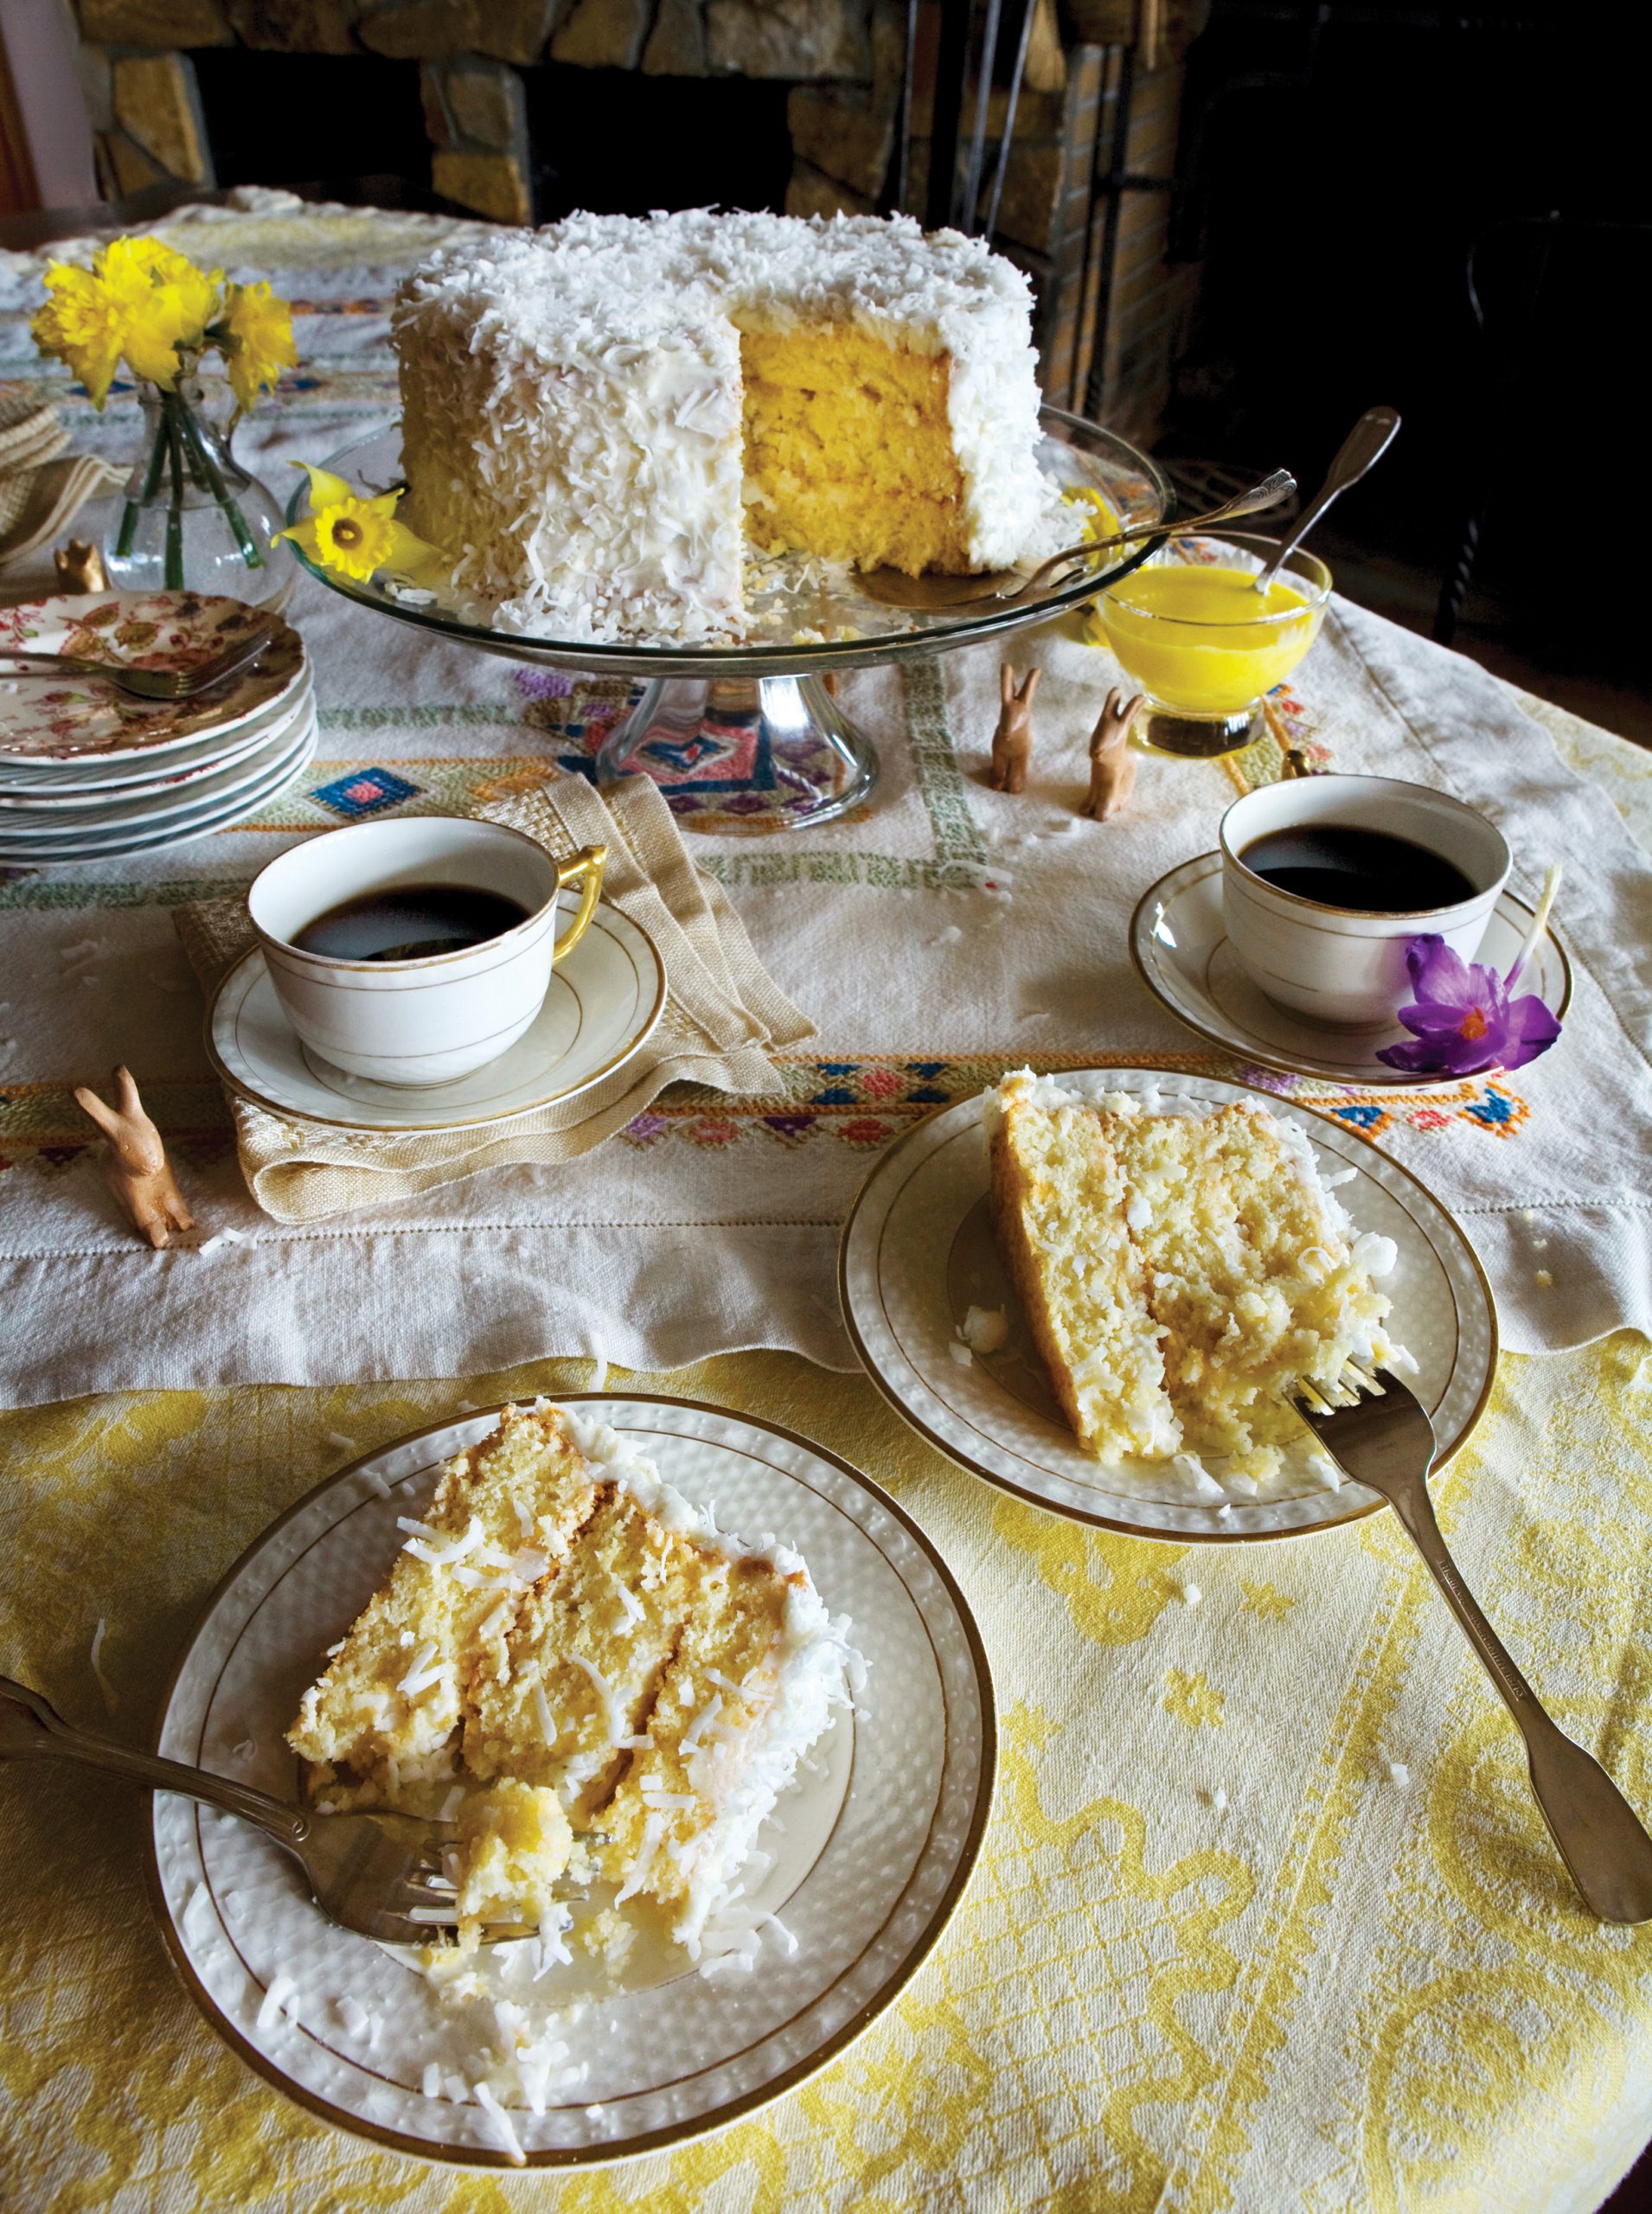
This lovely cake is perfect...
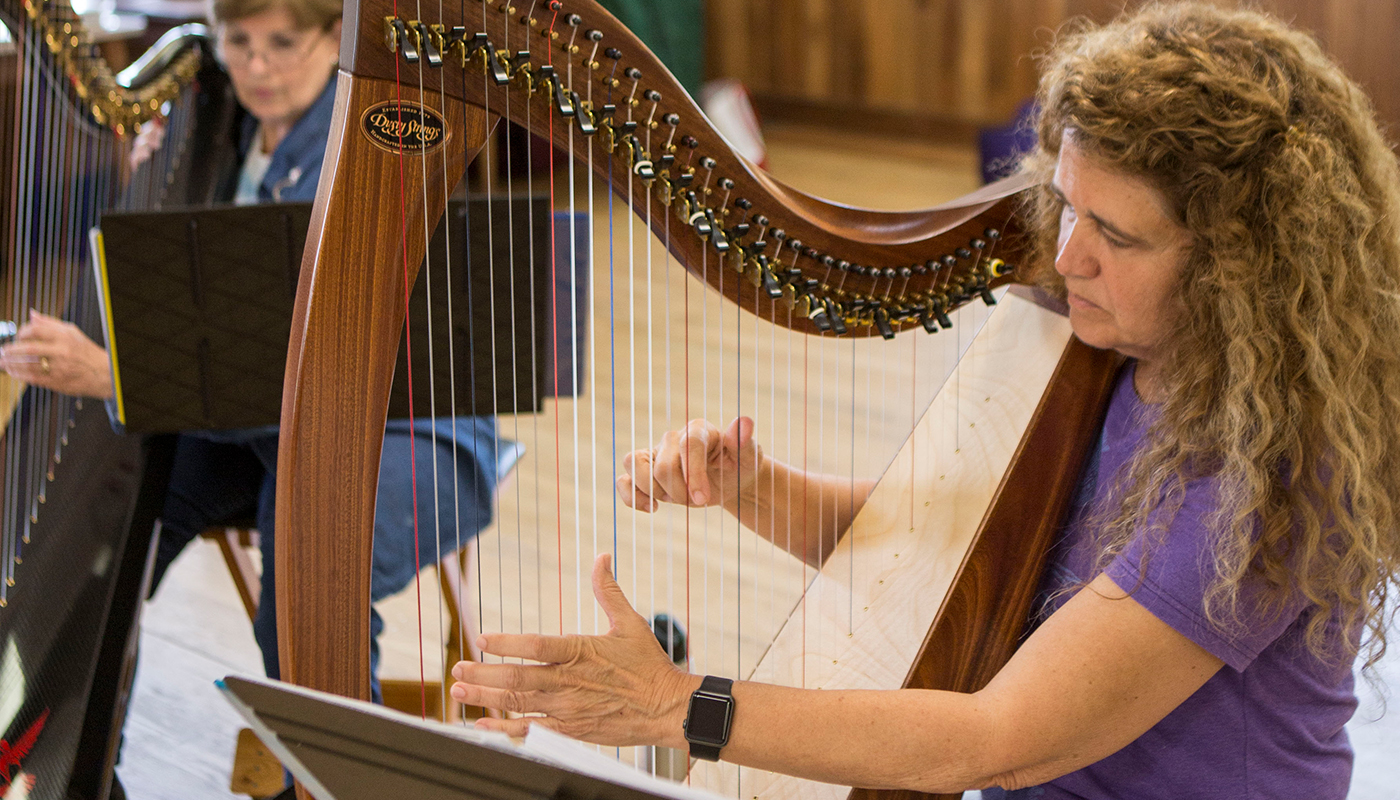
Folk harp enthusiasts! Come celebrate...

 It is Thursday afternoon. Outside the writing studio window, the day is bathed in sunlight, the limb patterns on the grass motionless. Inside the studio, writers are at work with pen or laptop, or staring out the window, or sitting chin in hand. Chairs squeak, the printer clacks, the clock ticks. Small sounds that only accentuate the silence. The writing group is focused, which is different from a focus group . . . or maybe it isn’t.
I wondered, on Sunday before I arrived, who these people in the class would be, what they would be seeking, what they would be bringing. On Monday, as we tiptoed toward one another, I began to find out. Talking and listening, deciding what to offer up from our own personal stories, we began to trust. This is what I expected.
In the afternoon, we scattered across the campus, each of us to a different studio. The instructor had told us, “Write about what you are seeing, hearing, feeling there.” I heard only birdsong as I walked outside; all the other students were sequestered in class.
Rounding the mulched curve to the Woodworking Studio, I saw steam. The porch was steaming. I asked the man tending the steam if I’d found the banjo-making class. “You have,” he said. “I’m one of the instructors and I’m about to begin a steam-bending demo. Feel free to go inside and look around.” Noise! The moment I opened the studio door I was met with a wall of noise. Not from banjos playing, but machinery noise. What I saw was clusters of students working so intently that they didn’t even notice my presence. I expected to be questioned; instead, I was invisible.
It is Thursday afternoon. Outside the writing studio window, the day is bathed in sunlight, the limb patterns on the grass motionless. Inside the studio, writers are at work with pen or laptop, or staring out the window, or sitting chin in hand. Chairs squeak, the printer clacks, the clock ticks. Small sounds that only accentuate the silence. The writing group is focused, which is different from a focus group . . . or maybe it isn’t.
I wondered, on Sunday before I arrived, who these people in the class would be, what they would be seeking, what they would be bringing. On Monday, as we tiptoed toward one another, I began to find out. Talking and listening, deciding what to offer up from our own personal stories, we began to trust. This is what I expected.
In the afternoon, we scattered across the campus, each of us to a different studio. The instructor had told us, “Write about what you are seeing, hearing, feeling there.” I heard only birdsong as I walked outside; all the other students were sequestered in class.
Rounding the mulched curve to the Woodworking Studio, I saw steam. The porch was steaming. I asked the man tending the steam if I’d found the banjo-making class. “You have,” he said. “I’m one of the instructors and I’m about to begin a steam-bending demo. Feel free to go inside and look around.” Noise! The moment I opened the studio door I was met with a wall of noise. Not from banjos playing, but machinery noise. What I saw was clusters of students working so intently that they didn’t even notice my presence. I expected to be questioned; instead, I was invisible.

Today we’re sharing the perfect...
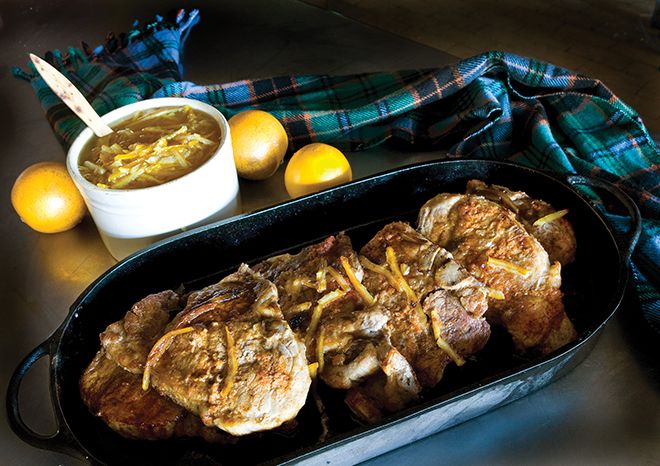
This recipe turns humble pork...