19 Aug What You Should Know About Blacksmithing and Bladesmithing
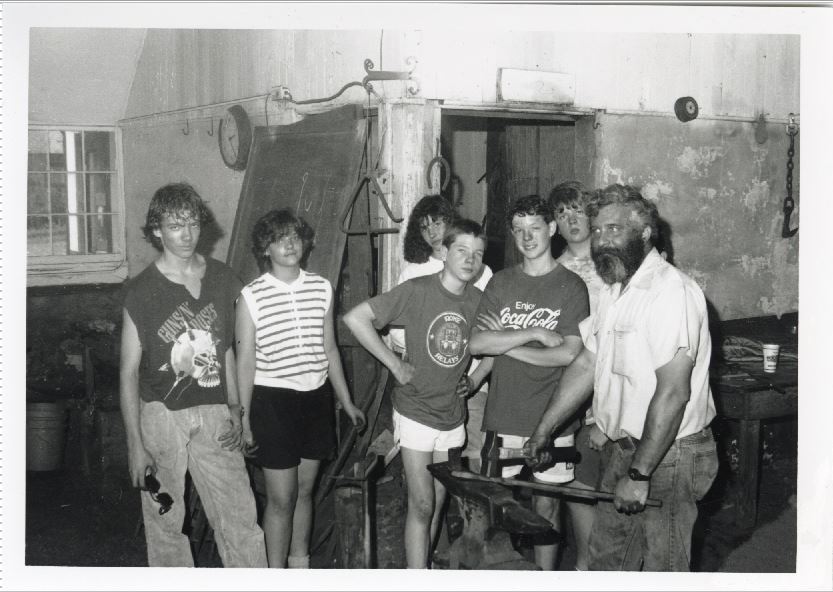
Blacksmithing and bladesmithing are ancient crafts steeped in tradition and history. Blacksmiths, manipulating metal to create tools, art, and other objects, have shaped civilizations with their craft for millenia.
If you’re intrigued by the allure of molten metal, the clang of the hammer, and the craft of turning raw materials into practical or ornamental pieces, read on to discover more about these fascinating skills and how you can learn blacksmithing too.
What Is Blacksmithing?
Blacksmithing is the craft of heating and forging metal, primarily iron or steel, into a variety of shapes and items. A blacksmith can make everything from decorative scrolls for gates to practical items like horseshoes and nails. The scope is vast, limited only by the blacksmith’s imagination and the needs of their community.
What Is Bladesmithing?
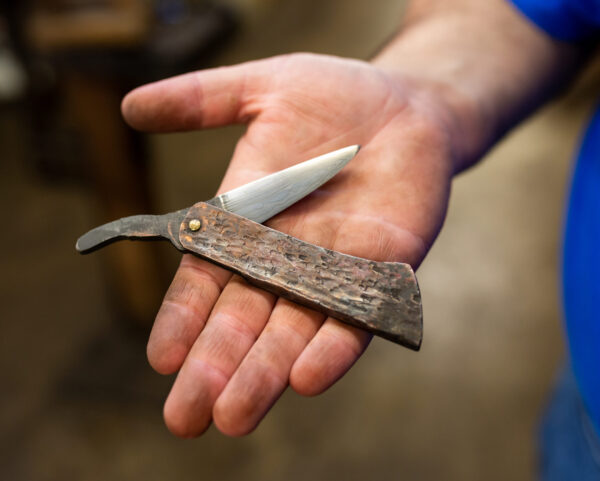
Bladesmithing is a specialized subset of blacksmithing dedicated to the creation of blades. This includes knives, swords, and other edged tools. Bladesmiths hone their skills to produce sharp, durable, and efficient cutting instruments.
A Brief History of Blacksmithing and Knife Making
Historically, the blacksmith was a vital member of any community. From ancient villages to bustling towns, blacksmiths produced essential tools, repaired farm equipment, and ensured the community had what it needed to function. The art of blacksmithing can be traced back over 6,000 years, with early civilizations like the Egyptians and Greeks recognizing its importance.
Bladesmithing, too, has deep roots. The forging of blades for hunting, cooking, and warfare dates back thousands of years. The evolution of bladesmithing techniques, such as pattern welding and differential heat treatment, showcases humanity’s ongoing quest for the perfect blade. Some ancient swords and knives have become legendary, symbolizing power, status, and artistry.
The Basic Process of Blacksmithing
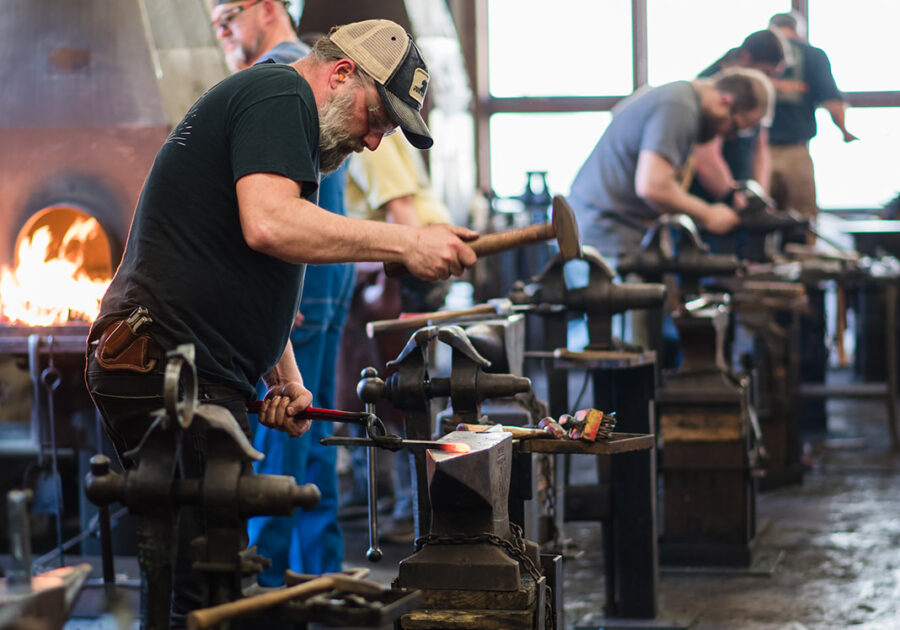
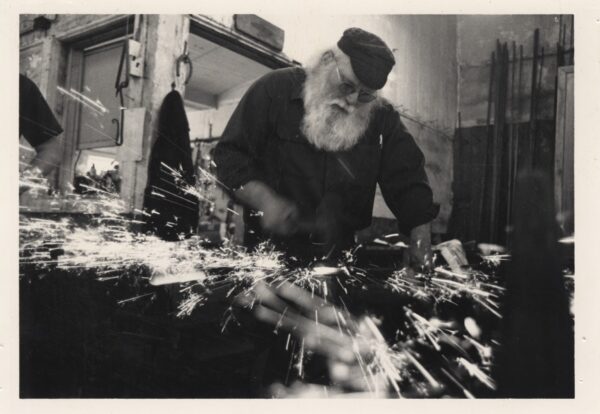
How do blacksmiths go about their work? The process involves heating metal (usually iron or steel) until it’s malleable, then hammering or forging it into desired shapes. This craft is as much about understanding the behavior of metals as it is about physical skill. Here’s a step-by-step breakdown of the basic process:
-
- Heating the metal: The metal is placed inside a forge, where it is heated until it becomes red or orange-hot and malleable. The exact temperature varies depending on the type of metal and the desired outcome.
-
- Forging: Once heated, the metal is removed from the forge using tongs and placed on an anvil. The blacksmith then uses various hammers and techniques to shape the metal. Forging can involve bending, drawing out (lengthening), tapering, upsetting (thickening), punching (making holes), and more.
-
- Tempering and quenching: After the desired shape is achieved, the metal might need to be hardened or tempered, especially for tools or blades. This involves reheating and then rapidly cooling the metal by plunging it into water, oil, or another cooling medium. The process changes the crystalline structure of the metal, enhancing its properties.
-
- Finishing: Once the forging and hardening processes are complete, the piece can be polished, sharpened (for blades), or otherwise finished to improve its appearance and functionality.
Common Blacksmithing Tools and Equipment
The complex, multi-step process of blacksmithing requires specialized tools and equipment, such as:
- Forge: This is where the metal is heated. Traditional forges burn coal or charcoal, but modern blacksmiths often use propane or gas forges.
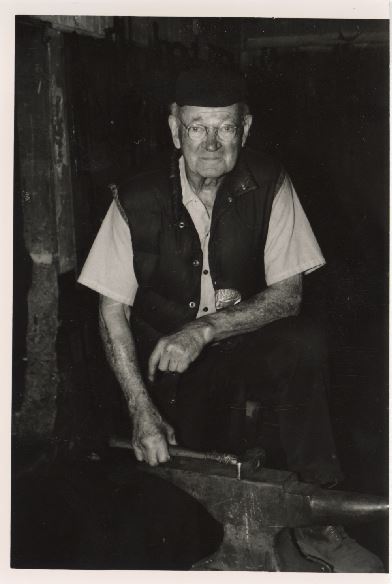
- Anvil: This is a heavy, typically iron or steel block upon which the metal is placed and hammered. It has a flat top surface, a horn (rounded section) for shaping, and often a hardy hole (square hole) and pritchel hole (round hole) for various tools.
- Hammers: Various hammers are used, including the ball-peen, cross-peen, and sledgehammer. Each has its unique shape and weight for different tasks.
- Tongs: These are used to grip and hold hot metal. Tongs come in various shapes and sizes, designed to hold different types of workpieces securely.
- Chisels and punches: These are used to cut and create holes in the metal.
- Hardy tools: These are tools that fit into the hardy hole of the anvil. They include cutters, benders, and swages — tools that help form specific shapes.
- Quenching tank: This is a container filled with water, oil, or another liquid used for rapidly cooling (or “quenching”) hot metal to harden it.
- Files and grinders: Used in the finishing process, files and grinders help refine shapes, smooth metal, and sharpen edges.
- Bellows or blower: This device pushes air into the forge, increasing the heat of the fire. Traditional bellows are operated by hand, but many modern forges use electric blowers.
Understanding and effectively using these tools requires practice and skill. With time and experience, a blacksmith can manipulate metal with precision, turning raw materials into functional and often beautiful creations.
Tips for Blacksmithing Beginners
If you’re looking to try your hand at blacksmithing, here are some beginner-friendly tips you should know:
-
- Safety first: Always wear protective gear. This includes safety goggles, gloves, and a long-sleeved shirt. Work in a well-ventilated area to avoid inhaling fumes.
-
- Invest in quality tools: While it might be tempting to opt for cheaper tools, quality ones will last longer and make the work more enjoyable. At a minimum, you’ll need an anvil, hammer, tongs, and a forge. Keep in mind that if you don’t want to commit to purchasing equipment, attending a blacksmithing class or workshop is an excellent approach. You’ll not only have access to quality equipment and tools, but you’ll be able to start your blacksmithing journey with a solid educational foundation.
-
- Learn the language: Familiarize yourself with terms like tempering, quenching, and drawing out. This will aid in understanding tutorials and classes better.
-
- Start small: Before diving into a complex project, begin with simpler tasks to familiarize yourself with the basics. Try making hooks, nails, or simple decorative pieces.
-
- Practice: Like any craft, practice is essential. The more you work with metal, the more attuned you’ll become to its properties and nuances.
Learn Blacksmithing and Bladesmithing With the John C. Campbell Folk School
If you’re serious about mastering blacksmithing or bladesmithing, consider taking a course at the renowned John C. Campbell Folk School. Located amidst the scenic Appalachian Mountains, our institution offers a unique blend of tradition, expertise, and community spirit. By enrolling in one of our classes, you’ll be immersing yourself in a rich heritage, learning from masters of the craft, and joining a community of passionate artisans.
So, are you ready to forge your future? Explore blacksmithing classes at the John C. Campbell Folk School today. The anvil awaits!


No Comments