13 Sep Nothing Is As Expected in Printmaking Paradise
Last month’s printmaking class didn’t go as I’d planned.
The class was “Printmaking Paradise,” a survey of techniques, taught by Sally and Dick Walsh. In class, Sally taught us a few techniques each day. Some used the printing press, and some we could do at home with no fancy equipment. Sally encouraged us to have fun: to try everything but to go with the techniques we resonated with.
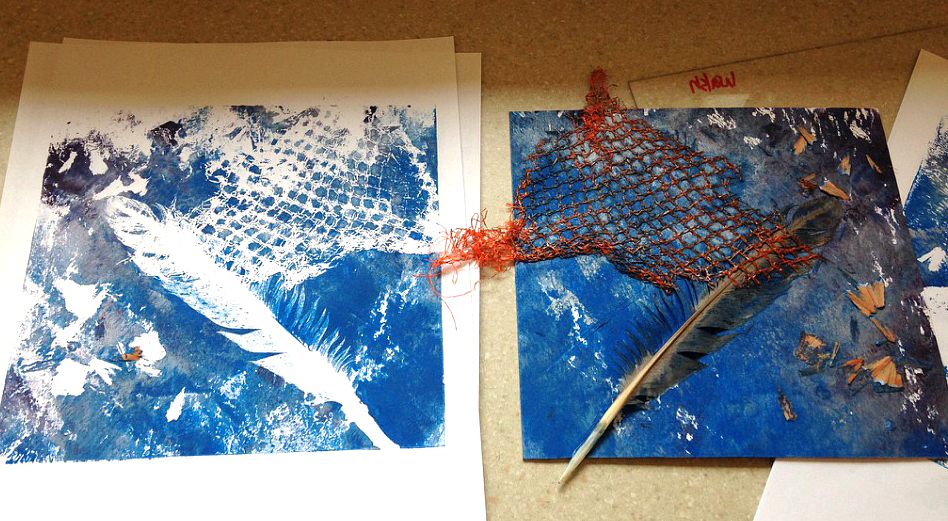
On day one, we tackled collagraphs. They seemed simple enough: spread ink onto a piece of matte board, lay found objects on top, cover with paper, and run the whole thing through the printing press. The first print will be a little sloppy, but the second and third will have more defined features, showing the textures of the objects. Sally’s example had a beautifully detailed feather printed on it.
I waited with eager fingers for my print to roll through the press. Then I peeled it off the board. My feather had printed as a disappointing white blotch: not enough ink. “Make another one!” Dick suggested, so I did, this time gopping on the ink under my feather. You can’t understand the process until you do it, I thought. Why did I expect things to be perfect the first time?
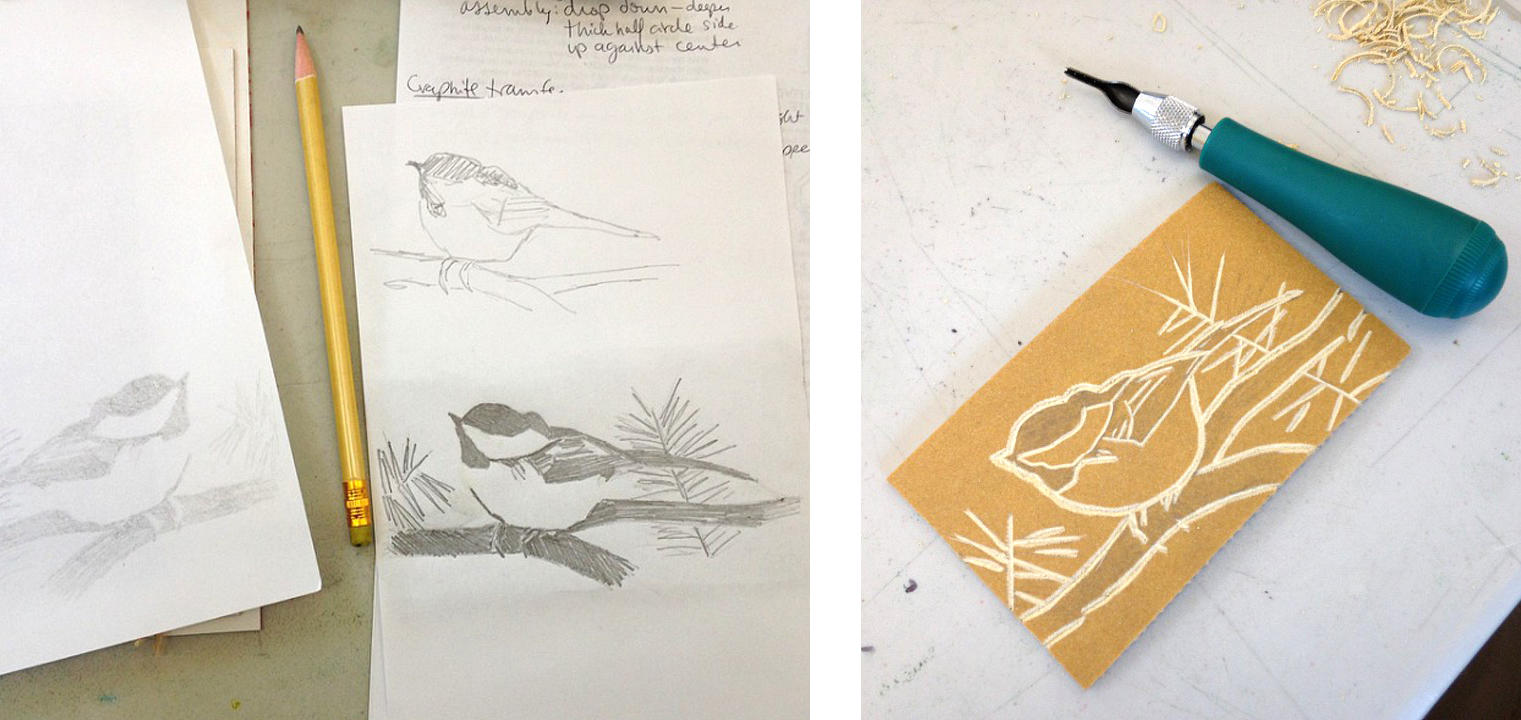
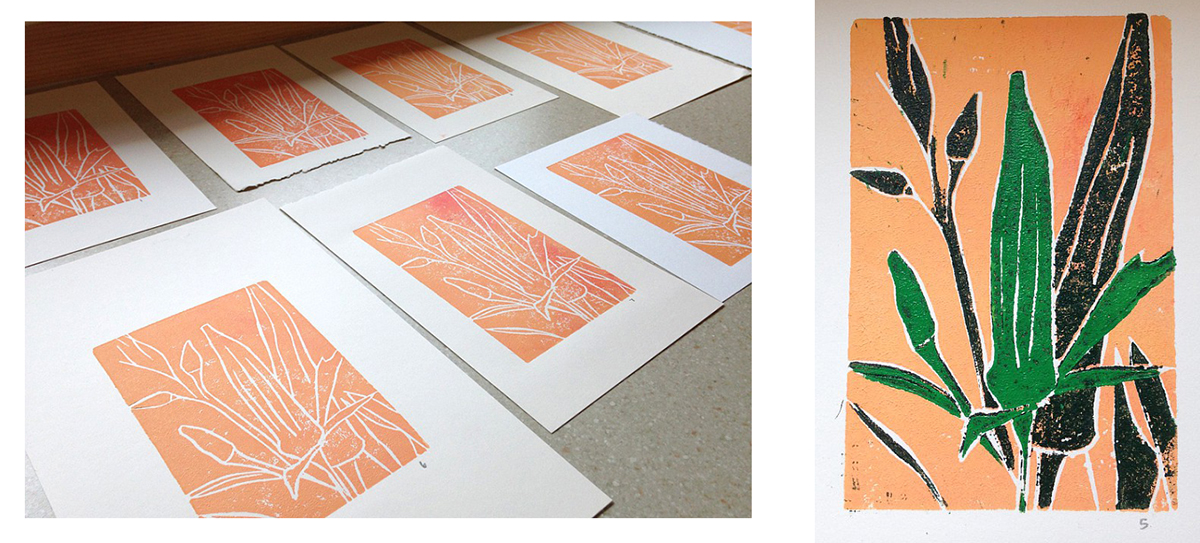
We also cut linoleum blocks, and Sally explained different ways to use them. The simplest was to roll ink onto the block and then press paper onto it with your hands. To get multiple colors, you could print multiple times with the same block, removing bits of the block each time.
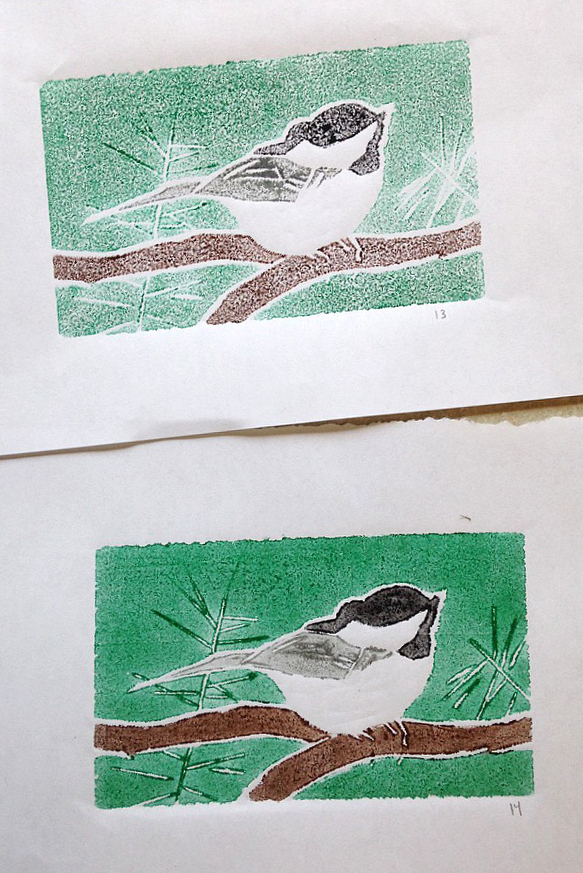
I had cut a chickadee into my block and couldn’t bear to destroy it, so I opted for another multicolor method: I used markers, coloring different sections different colors. The marker ink didn’t transfer as well as the print-making ink when I pressed with my fingers, so I tried running the block through the press. After a trial run to adjust the press, I got the colors I’d hoped for.
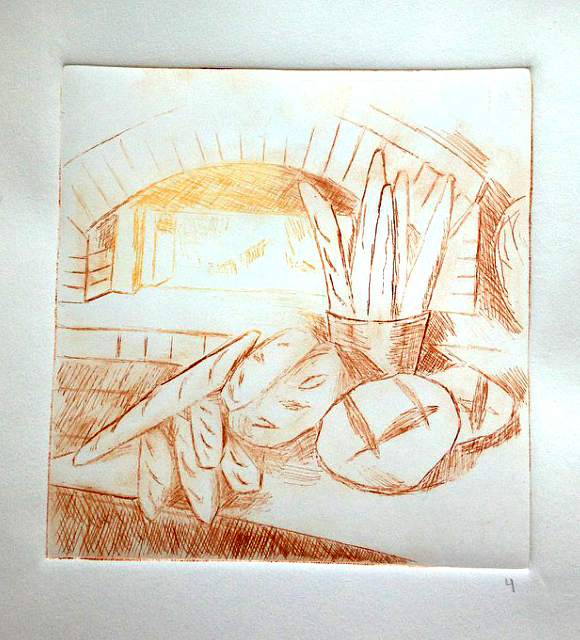
The next day we learned an intaglio method: (1) Scrape a picture into a plexiglass plate. (2) Spread on ink with your fingers. (3) Wipe off the ink, leaving it only in the lines. (4) Transfer the ink onto paper using the press. I expected to love this method: So neat! So controlled! I sketched some loaves of bread on the hearth of a wood-fired oven. I printed it, and printed it again. And it seemed kind of boring, always coming out how I expected.
Later in the week I tackled printing with a gelatin plate. I prepared a plexiglass surface with a border of oil-based modeling clay and then poured on extra-thick gelatin, made with Sally’s recipe. When the gelatin hardened, I could roll ink onto it, cover it with found objects (more feathers!), and then press paper on top of it. The first print resulted in white silhouettes of the objects. For the second print (the “ghost print”), I peeled off the objects. Their details had been pressed into the remaining ink, and printing captured them. Printing twice on the same paper produced overlapping layers and colors, but never the look I imagined. And I could never seem to line the paper up well the second time.
After a few hours, I was ready to be done with the gelatin plate. I decided to combine two techniques. First I made a monoprint: I painted an image of my cat Scruffy onto the plate and pressed the image onto paper. Then I cut out the shape of Scruffy, rolled ink onto the remaining plate, and carefully printed it as a background… and it came out lopsided. With the misaligned background, I had chopped off one of his ears (ironically the one that is actually missing its tip) and made the other ear monstrous.
But Scruffy is actually kind of a lopsided cat. In addition to his cropped ear, he’s had a cracked fang pulled, giving him a snaggletooth. Maybe the print expressed his personality better than I’d planned. I could learn the methods and improve my technique, but I could also accept the unexpected.
So last month’s print-making class didn’t go as I’d planned… but maybe it went better.



No Comments